

Hey there! I'm a supplier of basin faucets, and I've seen all sorts of installations over the years. Today, I'm gonna walk you through how to install a basin faucet on a concrete countertop. It might sound a bit tricky, but with the right tools and a little know - how, you'll have that shiny new faucet up and running in no time.
What You'll Need
First things first, let's talk about the tools and materials you'll need for this project.
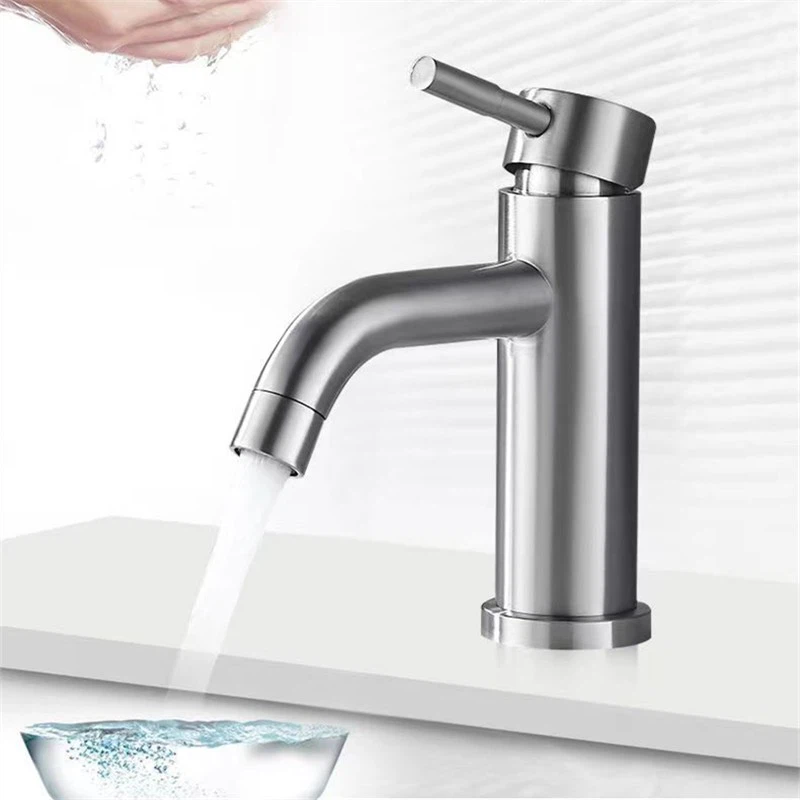
- Basin faucet: You can choose from a variety of styles on our website. Check out our Gold Basin Faucet, Brushed Basin Faucet, or Digital Display Basin Faucet for some great options.
- Adjustable wrench
- Pipe wrench
- Screwdriver (both flat - head and Phillips)
- Plumber's putty or silicone caulk
- Teflon tape
- Bucket or container to catch water
- Measuring tape
Pre - installation Checks
Before you start the installation process, there are a few things you need to do.
- Measure the holes: Check the holes in your concrete countertop. Make sure they match the holes on the faucet base. Most basin faucets come with templates, so you can double - check the measurements. If the holes are too big or too small, you might need to do some extra work to make them fit.
- Turn off the water supply: Locate the shut - off valves under the sink. Turn them clockwise to shut off the water. It's a good idea to test the valves by trying to turn on the faucet. If no water comes out, you're good to go.
- Prepare the work area: Lay down a towel or a drop cloth to protect the countertop and the floor from scratches and water spills.
Installation Steps
Step 1: Apply Plumber's Putty or Silicone Caulk
If your faucet has a gasket, you can skip this step. But if it doesn't, apply a thin layer of plumber's putty or silicone caulk around the base of the faucet. This will create a watertight seal between the faucet and the countertop.
Step 2: Insert the Faucet
Carefully place the faucet into the holes on the countertop. Make sure it's centered and level. If the faucet has multiple parts, follow the manufacturer's instructions to assemble them correctly.
Step 3: Attach the Nuts
From underneath the countertop, attach the mounting nuts to the faucet stems. Use an adjustable wrench to tighten the nuts. Be careful not to over - tighten them, as this can crack the concrete countertop. Just make them snug enough to hold the faucet in place.
Step 4: Connect the Water Supply Lines
Now it's time to connect the water supply lines. You'll usually have a hot and a cold water line. Wrap Teflon tape around the threads of the supply line connectors to prevent leaks. Then, use a pipe wrench to connect the supply lines to the faucet. Make sure you connect the hot water line to the hot side of the faucet and the cold water line to the cold side.
Step 5: Install the Diverter (if applicable)
Some basin faucets come with a diverter for a handheld shower or a sprayer. If your faucet has one, follow the manufacturer's instructions to install it. This usually involves connecting the diverter to the faucet and the showerhead or sprayer.
Step 6: Check for Leaks
Once everything is connected, turn on the water supply valves slowly. Check for any leaks around the faucet base, the supply lines, and the diverter. If you see any leaks, tighten the connections a little more. If the leak persists, you might need to re - apply the plumber's putty or Teflon tape.
Step 7: Final Touches
Wipe away any excess plumber's putty or caulk from the countertop. Adjust the handles of the faucet to make sure they turn smoothly. You're all set!
Troubleshooting
Sometimes, things don't go as smoothly as planned. Here are some common problems you might encounter and how to fix them.
- Leaking faucet: As mentioned earlier, check the connections and make sure they're tight. If the leak is coming from the base of the faucet, you might need to re - apply the plumber's putty or caulk.
- Stiff handles: If the handles of the faucet are stiff, try lubricating the valves with a silicone - based lubricant.
- Low water pressure: Check the water supply valves to make sure they're fully open. You might also have a clogged aerator. Remove the aerator from the end of the spout and clean it with a brush.
Why Choose Our Basin Faucets
We're not just any basin faucet supplier. Our faucets are made from high - quality materials, so they're durable and long - lasting. We offer a wide range of styles to suit different tastes and bathroom decors. Whether you're looking for a modern Digital Display Basin Faucet or a classic Brushed Basin Faucet, we've got you covered.
Contact Us for Purchase and Consultation
If you're interested in purchasing one of our basin faucets or have any questions about the installation process, don't hesitate to reach out. We're here to help you every step of the way. Whether you're a DIY enthusiast or a professional plumber, we can provide you with the best products and advice.

References
- "Home Plumbing Repair Handbook" by DIY Home Improvement Guides
- Manufacturer's installation instructions for basin faucets