

Installing a basin faucet on a porcelain sink is a task that can enhance the functionality and aesthetics of your bathroom. As a basin faucet supplier, I've witnessed the transformative power of a well - installed faucet. In this guide, I'll walk you through the step - by - step process of installing a basin faucet on a porcelain sink, ensuring a seamless and professional - looking result.

Step 1: Gather the Necessary Tools and Materials
Before you start the installation process, it's crucial to have all the required tools and materials at hand. Here's a list of what you'll need:
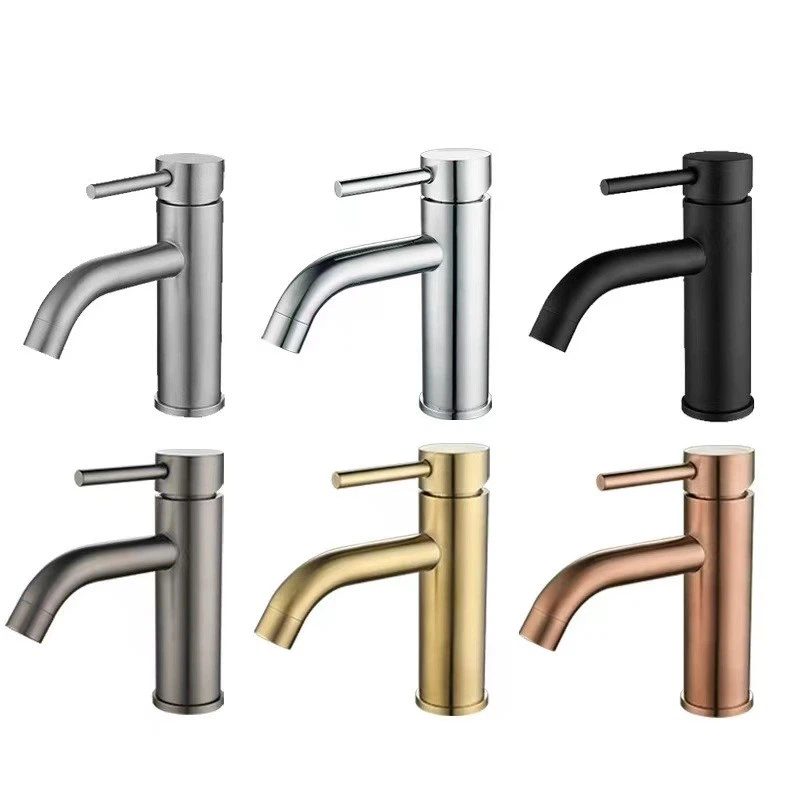
- Basin faucet: You can choose from a variety of options such as the Single Hole Basin Faucet, Stainless Steel Basin Faucet, or Brushed Basin Faucet.
- Adjustable wrench
- Basin wrench
- Pipe cutter
- Teflon tape
- Plumber's putty
- Screwdriver
- Bucket
Step 2: Turn Off the Water Supply
Locate the shut - off valves under the sink. These valves control the flow of hot and cold water to the faucet. Turn both valves clockwise until they are fully closed. To ensure the water is completely shut off, turn on the faucet handles to drain any remaining water in the pipes. Place a bucket under the faucet to catch the draining water.
Step 3: Remove the Old Faucet
If you're replacing an existing faucet, start by disconnecting the water supply lines. Use an adjustable wrench to loosen the nuts connecting the hot and cold water supply lines to the faucet. Place a bucket under the connections to catch any water that may drip out.
Next, remove the nuts securing the faucet to the sink. These nuts are usually located under the sink. Use a basin wrench to reach and loosen the nuts. Once the nuts are removed, lift the old faucet out of the sink.
Step 4: Prepare the Sink and Faucet
Clean the sink holes thoroughly to remove any debris, old putty, or residue. This will ensure a proper seal for the new faucet.
If your new faucet comes with a mounting assembly, follow the manufacturer's instructions to assemble it. Apply a thin layer of plumber's putty around the base of the faucet where it will make contact with the sink. This will help prevent water from leaking between the faucet and the sink.
Step 5: Install the New Faucet
Carefully lower the new faucet into the sink holes. Make sure the hot and cold water supply inlets are aligned correctly. From under the sink, insert the mounting nuts onto the faucet stems and hand - tighten them as much as possible.
Use a basin wrench to further tighten the mounting nuts. Be careful not to overtighten, as this could damage the porcelain sink or the faucet. Check that the faucet is level and stable.
Step 6: Connect the Water Supply Lines
Wrap Teflon tape around the threads of the hot and cold water supply valves. This will create a watertight seal. Connect the hot and cold water supply lines to the corresponding inlets on the faucet. Use an adjustable wrench to tighten the nuts, but again, avoid overtightening.
Step 7: Connect the Drain Assembly
If your faucet comes with a pop - up drain assembly, install it according to the manufacturer's instructions. Connect the drain pipe to the sink drain and the P - trap. Make sure all connections are tight to prevent leaks.
Step 8: Test the Faucet
Once all the connections are made, turn on the shut - off valves slowly. Check for any leaks around the faucet base, water supply connections, and drain assembly. If you notice any leaks, tighten the connections slightly.
Turn on the faucet handles to let the water run for a few minutes. This will help flush out any debris in the pipes. Check the water flow and temperature to ensure the faucet is working properly.
Troubleshooting Tips
- Leaks: If you notice a leak around the faucet base, it may be due to improper installation of the plumber's putty or loose mounting nuts. Try tightening the mounting nuts or reapplying the putty.
- Low Water Pressure: Low water pressure could be caused by a clogged aerator. Remove the aerator from the faucet spout and clean it with a brush and vinegar.
- Incorrect Water Temperature: If the hot and cold water are reversed, check the water supply connections under the sink. Make sure the hot water supply line is connected to the hot inlet on the faucet and vice versa.
Conclusion
Installing a basin faucet on a porcelain sink is a manageable DIY project that can save you money on installation costs. By following these steps and using the right tools, you can achieve a professional - looking installation. As a basin faucet supplier, we offer a wide range of high - quality faucets to suit your needs. Whether you prefer a single - hole design, a stainless - steel finish, or a brushed look, we have the perfect faucet for your bathroom.
If you're interested in purchasing a basin faucet or have any questions about the installation process, feel free to contact us for more information. We're here to help you make the best choice for your home and provide you with top - notch customer service.
References
- "Complete Guide to Bathroom Faucet Installation" - Home Improvement Magazine
- Manufacturer's Installation Manuals for Basin Faucets